 Upworks Inc partners with ABOTTS to build their Oracle Cloud Infrastructure (OCI) and migrate their custom applications to OCI.
 Abotts Inc Partners with Gnorth consulting to deploy exadata and ODA for a large public sector customer.
How to install Snowflake JDBC in OCI.
Step 1: Download the Snowflake JDBC Driver
Download the snowflake driver by using the below URL for Maven Central Repository for the standard driver.
https://repo1.maven.org/maven2/net/snowflake/snowflake-jdbc/
Step 2: Move the JDBC file from local to server and move it to ODI userlib/ directory
Login to the OCI server where you want to install the driver and import the driver file from local to the server. And move it to the userlib/ directory as shown below.

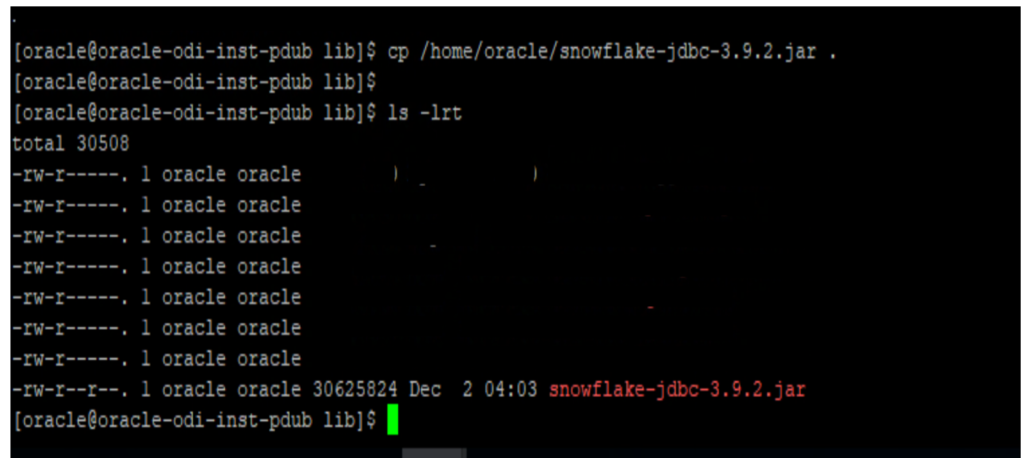
Step 3: insert the JDBC file to the ODI agent lib/ location on the ODI server
Now copy the JDBC driver from server location to the ODI lib/ directory where you want to the JDBC driver. In our case the path is /u01/oracle/mwh/odi/agent/lib
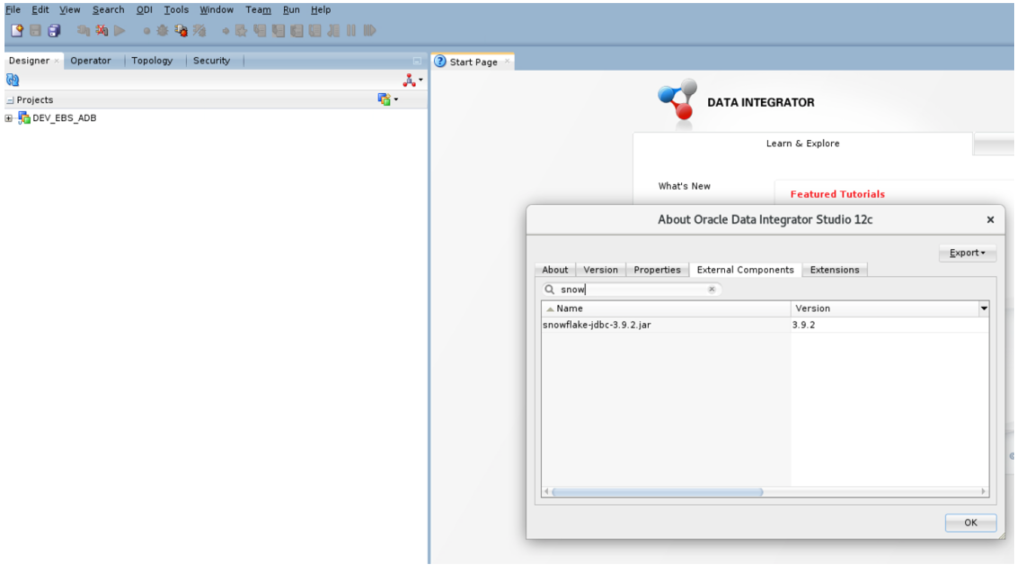
Step 4: validate the process
Now to validate, Login to the Oracle Data integrator and navigate to About section as shown below.

In the About section Navigate to External components and validate the availability of snowflake JDBC.
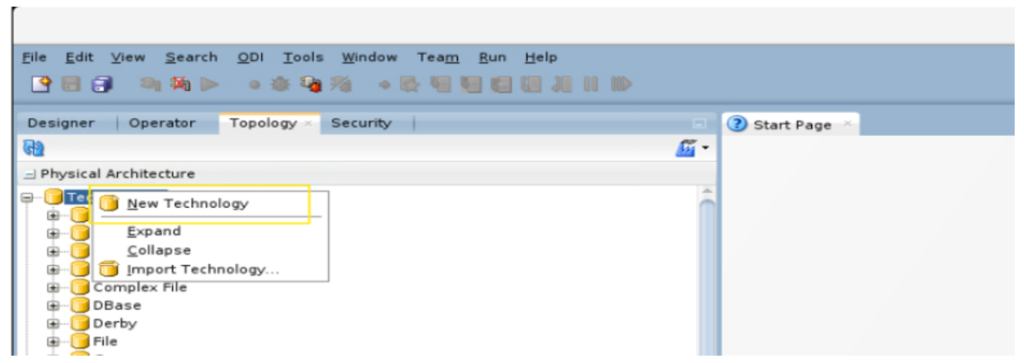
Step 5: Configure the JDBC Driver in ODI
- Log in to ODI Studio.
- Create a new Technology:
- Navigate to the Topology tab in ODI Studio.
- Under Physical Architecture, right-click Technologies and select New Technology.
Now providing necessary details: Name, Code and Data server link as highlighted in below image.
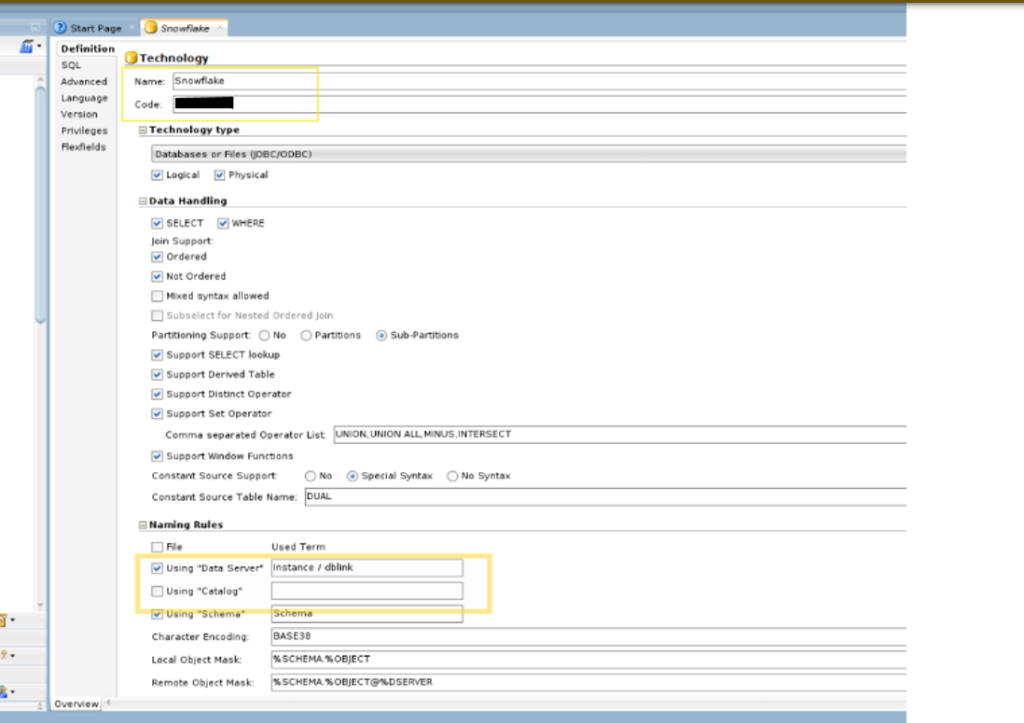
Note: The dataserver link you can get from DB which you’re trying to access.