 Upworks Inc partners with ABOTTS to build their Oracle Cloud Infrastructure (OCI) and migrate their custom applications to OCI.
 Abotts Inc Partners with Gnorth consulting to deploy exadata and ODA for a large public sector customer.
How to install ORACLE DATA INTEGRATOR.
Prerequisites.
- Oracle Cloud Account
- Have access to assigned Oracle Cloud Tenant
- Compute node resources within Oracle Cloud Tenant
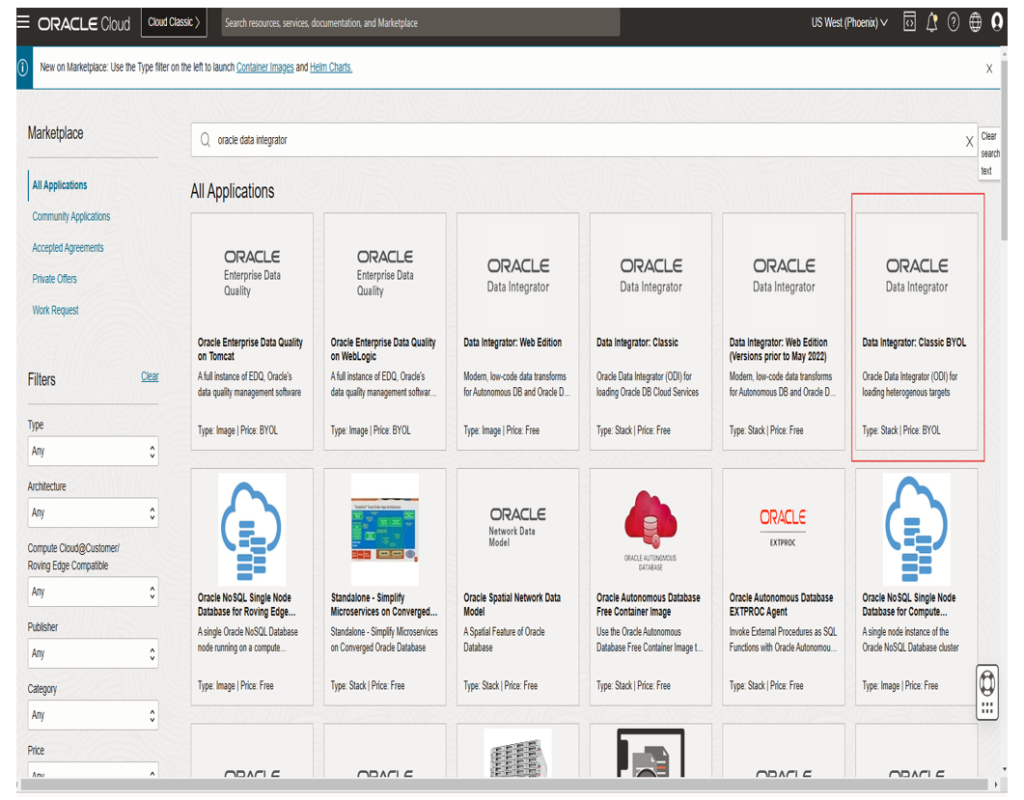
Step1: Launch the Oracle Cloud page and navigate to Marketplace
As shown in below screenshot, Then Search and select for ORACLE DATA INTEGRATOR:CLASSIC BYOL application.
Step 2: After selecting, review the terms and conditions, then launch the application by clicking the ‘Launch Stack’ option.
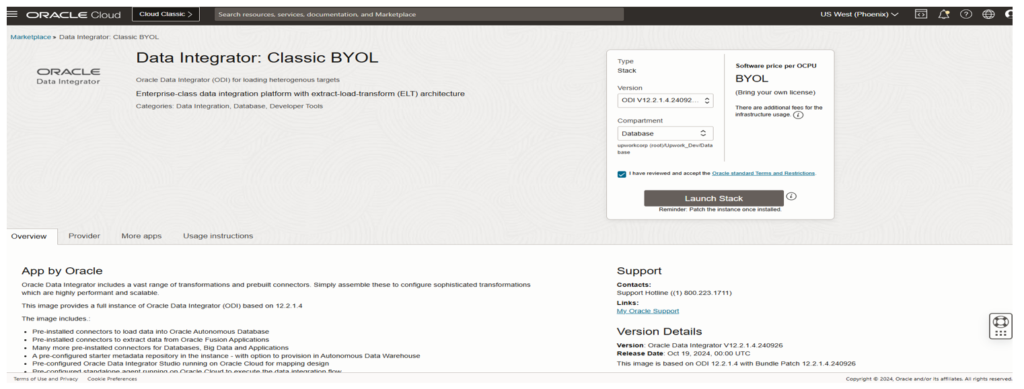
Once launched, the console will appear. Simply click ‘Next’ as shown in the screenshot below.
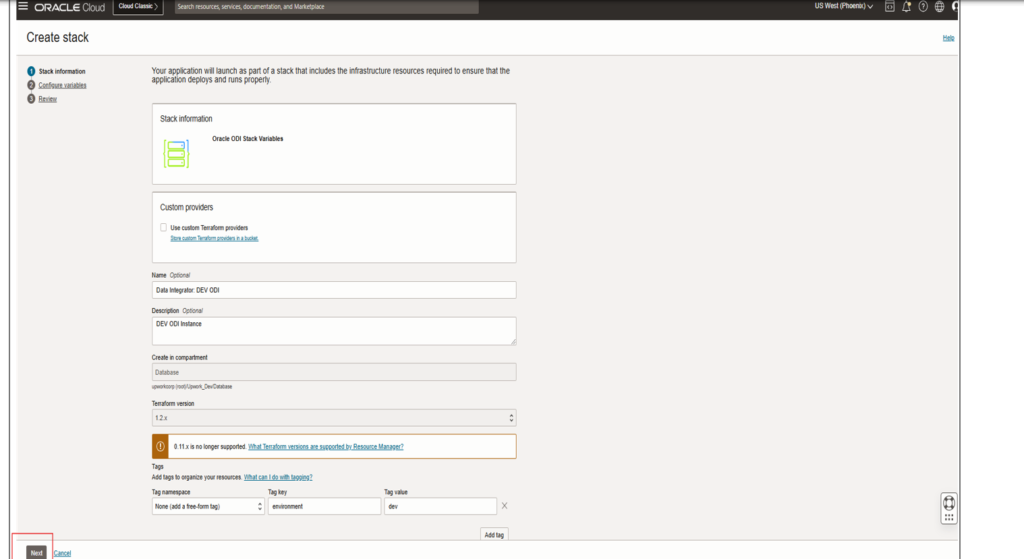
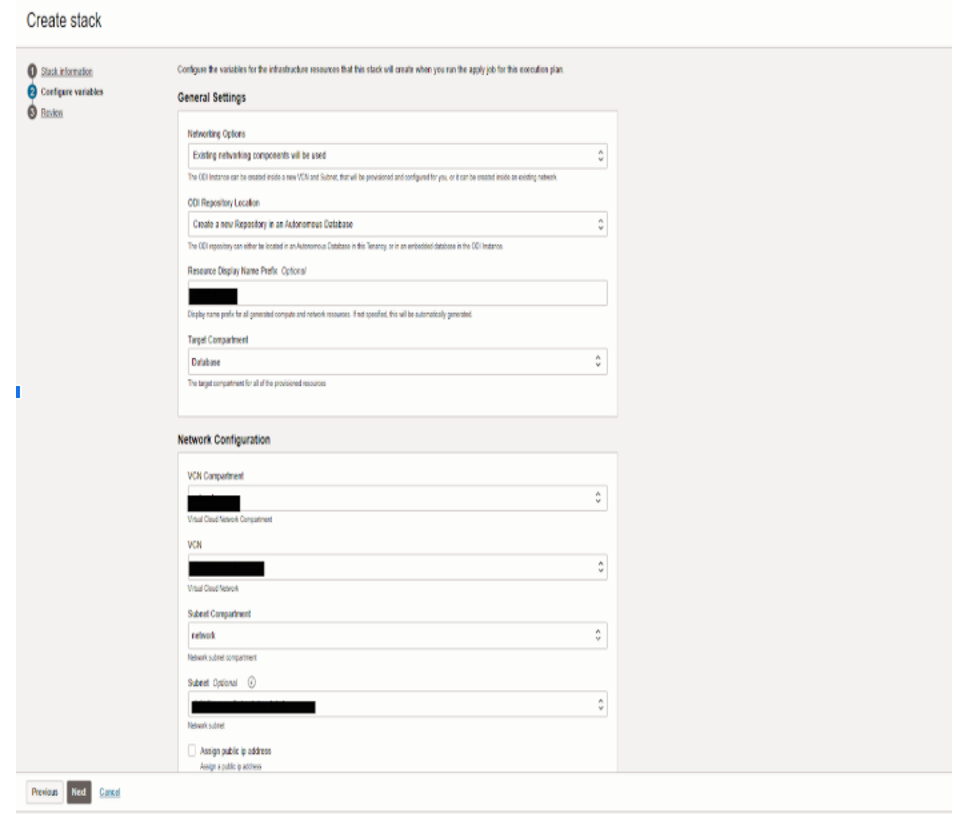
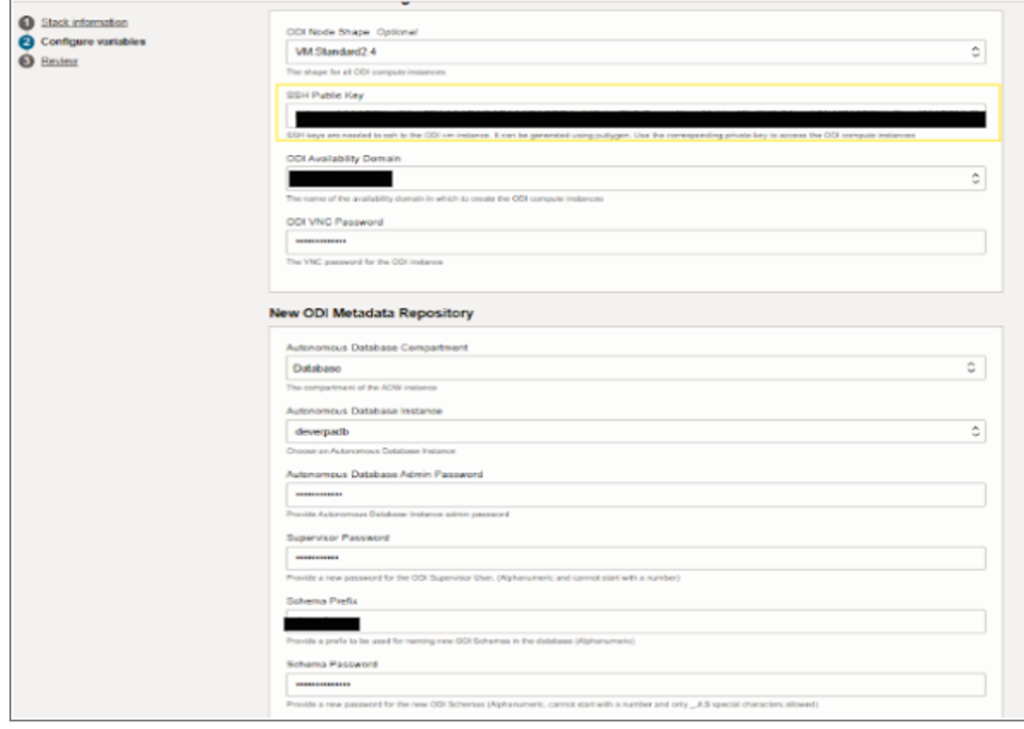
Step 3: Provide the required details as follows:
- Network Option: If you wish to create a new VCN and subnet, select ‘New networking components will be used.’ In our case, since we are configuring it with existing networking components, we have selected the second option.
Next, assign a name to the resources you are creating. If a name is not provided, one will be automatically generated.
Specify the target component, VCN component and other components. And hit next.
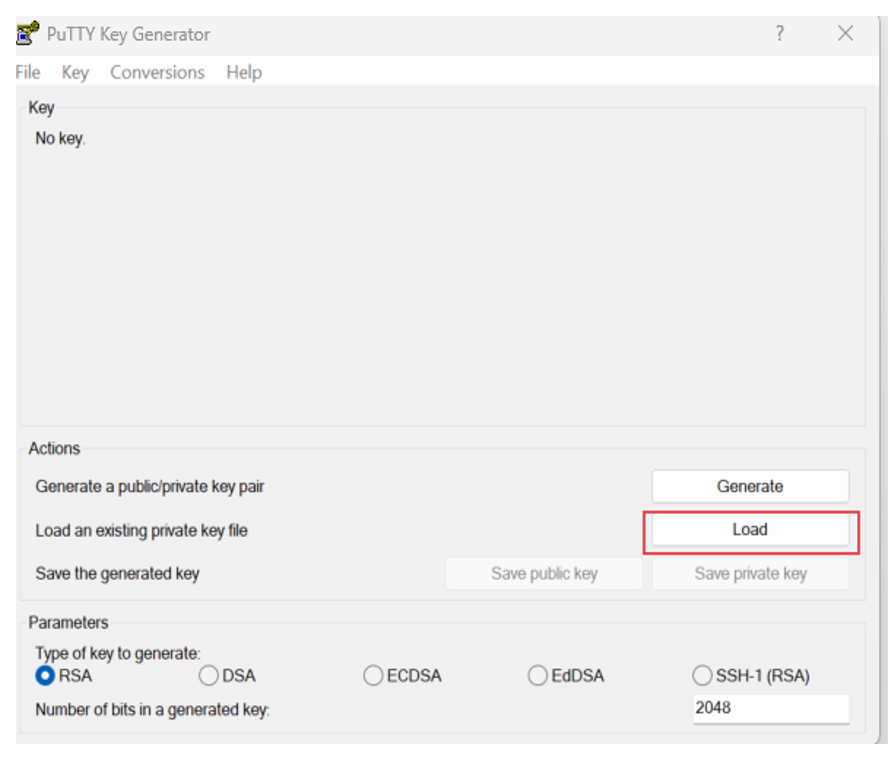
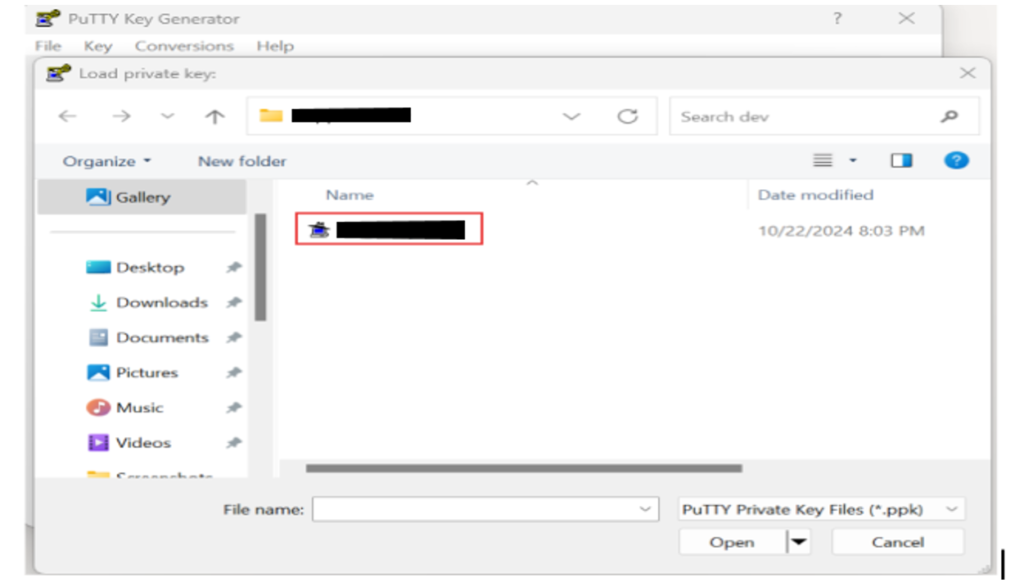
Step 4: Create a new RSA public key or open an existing key on your system using the PuTTY Agent, as shown in the screenshots below.
In our case, we are opening an existing public key using the PuTTY Agent.
Once Created, copy the Public key as shown in below screenshot.

Once the RSA is created, update the RSA public key in the ‘SSH Public Key’ section on the Create Stack page. Provide all the necessary details as required, then click ‘Next
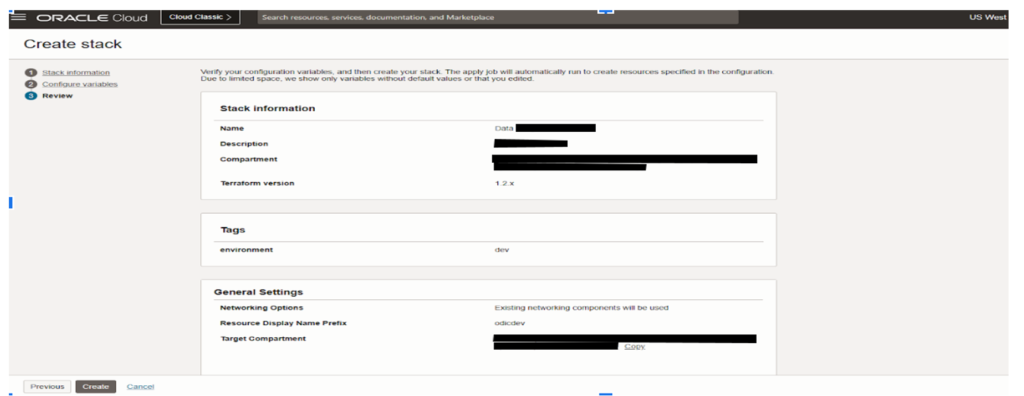
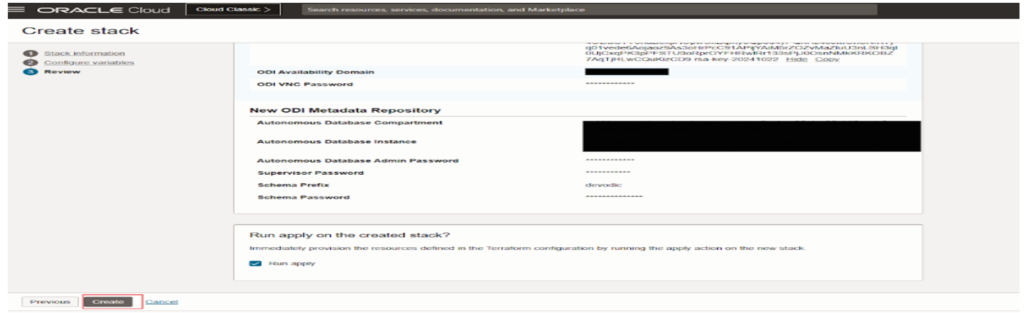
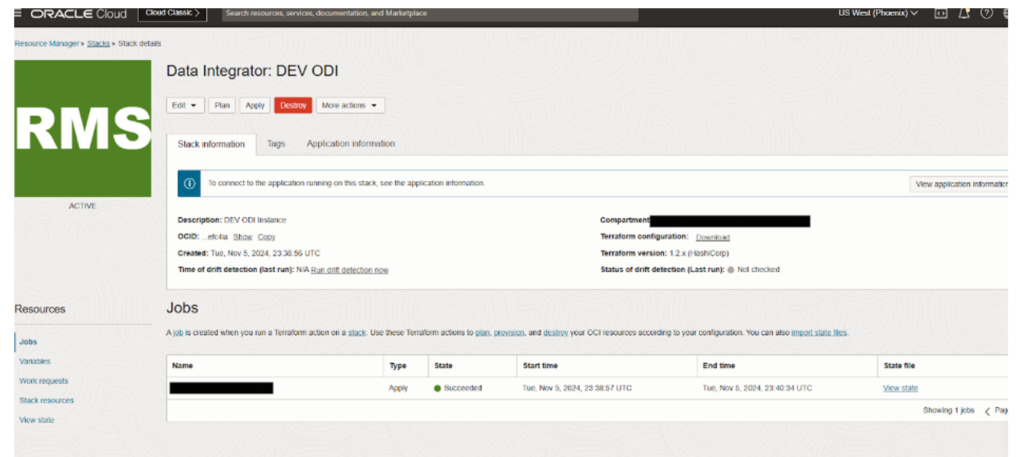
Step 5: Confirm the given details:
The confirmation screen will appear to validate all the provided details. Review the information and click ‘Create’ to initiate the creation of your stack
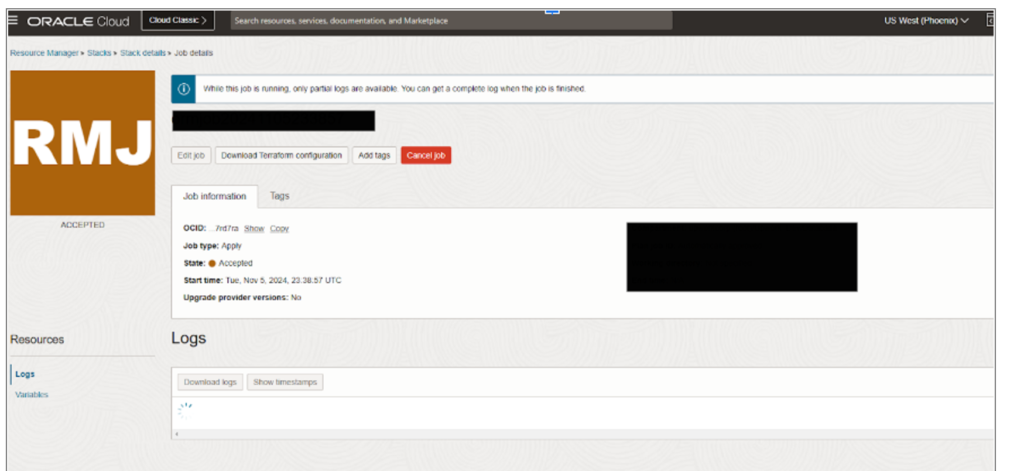
The Resource Manager will generate the Terraform configuration and present the status on the Resource Manager page.
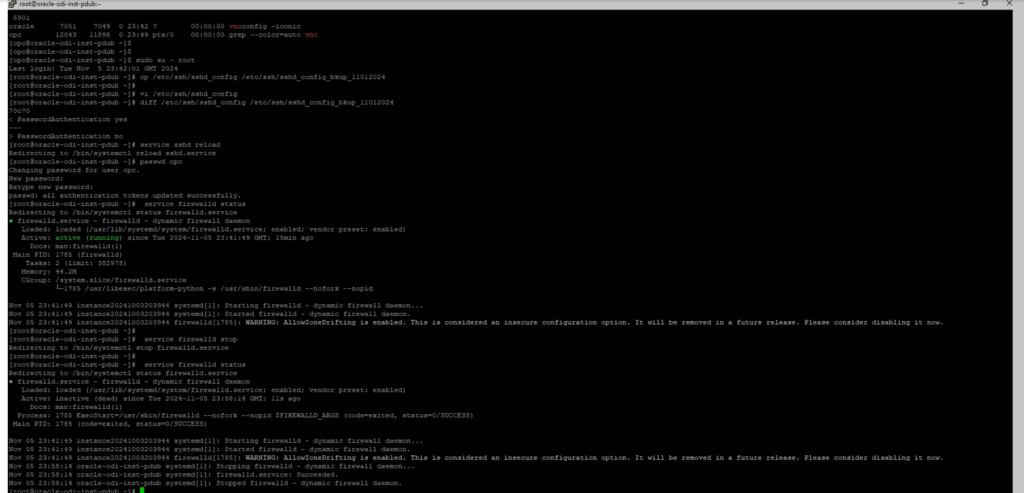
Step 6: Connect to the ODI compute instance through Linux and take a backup of the /etc/ssh/sshd_config file, modify the PasswordAuthentication setting to ‘No’, and restart the sshd service as demonstrated below
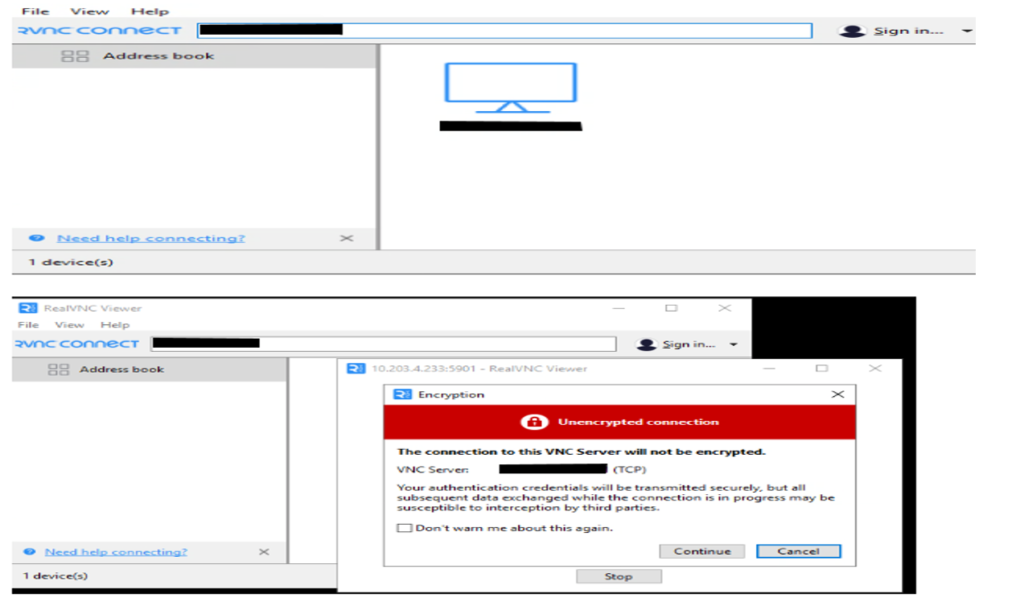
Step 7: Log in to the RealVNC Viewer and connect to the IP address as shown in the screenshot below.
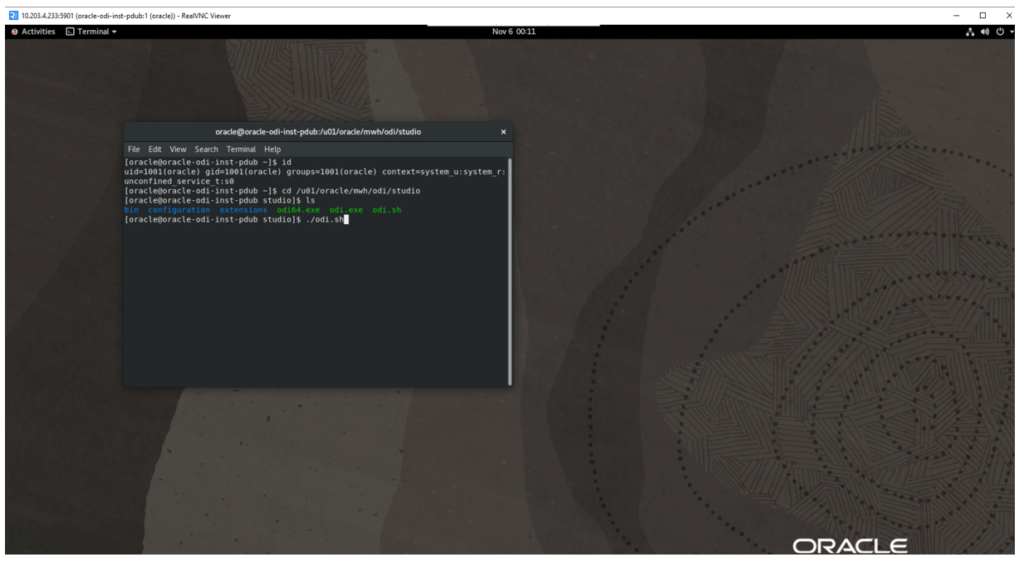
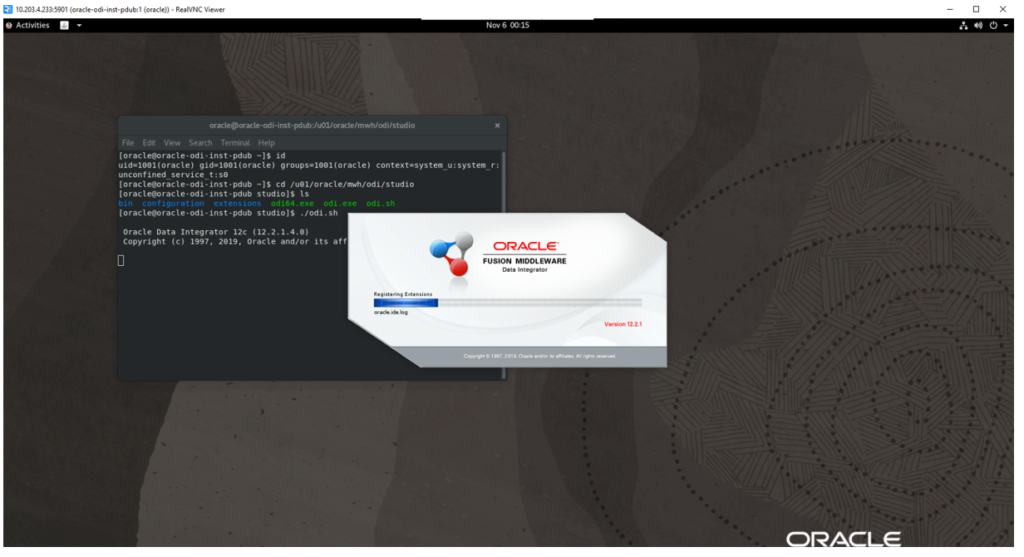
Step 8: Initiate the Oracle session and execute Oracle ODI from the directory specified in the screenshot below.